A tenant reports that the elevator has started making a high-pitched whining sound. The car still runs, so it's tempting to put the complaint on the maintenance list and move on. That decision can turn a small blower problem into an overheated motor, an unexpected outage, or a failed inspection notice.
For facility managers, Grand Rapids elevator repair is rarely just a matter of replacing one component. The work affects tenant access, staff schedules, safety procedures, inspection records, and the decision between a focused repair and a broader modernization. A reliable process starts with identifying the fault correctly, protecting everyone around the equipment, completing the repair without introducing new problems, and verifying that the elevator is ready for service.
Why That Whining Noise from the Machine Room Matters
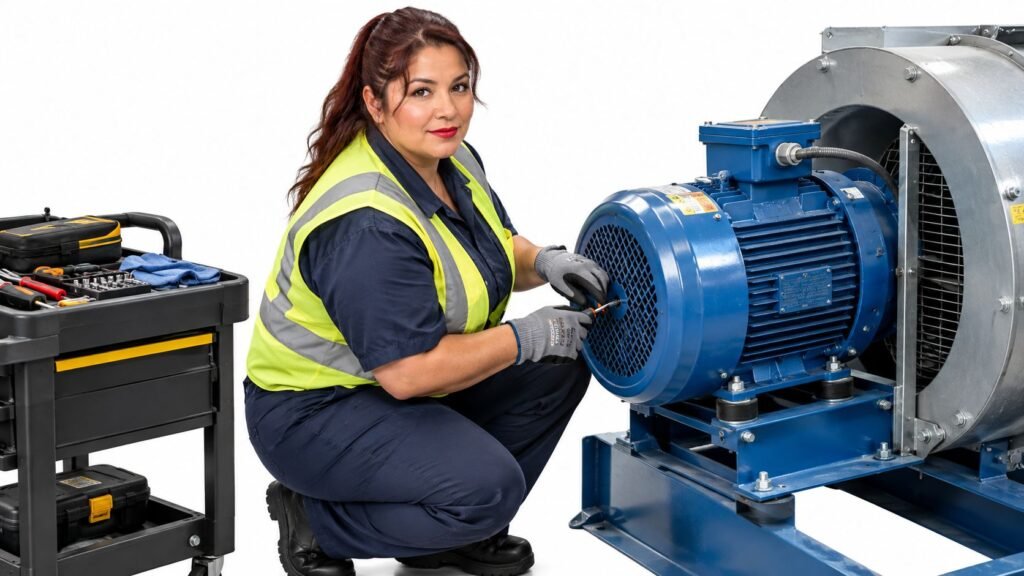
A machine-room blower often announces its decline before the elevator stops. The sound may begin as a thin whine during operation, then become a rough grinding noise as a bearing wears, debris enters the assembly, or the fan loses alignment. In a downtown Grand Rapids office building, the first report may come from a tenant near the machine room. In Kentwood, it may come from a facilities employee who notices that the room feels hotter than usual after repeated runs.
The blower moves air across the motor and helps control operating temperature. When it runs poorly, the motor can accumulate heat during normal service. That heat places stress on insulation, bearings, connections, and other components. The elevator may continue moving for a while, but continued operation doesn't make the underlying issue disappear.
Practical rule: Treat a new machine-room noise as a diagnostic signal, not as a comfort complaint.
The symptoms can vary. A failing blower may produce vibration through its housing, show inconsistent airflow, trip a protective device, or leave visible dust around the fan assembly. A technician must distinguish those signs from problems involving the motor itself, the sheave, belts, bearings, controller components, or loose mounting hardware. Replacing the blower without confirming the source can leave the original fault untouched.
Why a small component can disrupt a large building
The operational stakes are substantial. Around 900,000 elevators in the United States make roughly 18 billion passenger trips each year, while published estimates place annual elevator-related deaths at about 27 to 31, with approximately 10,200 to 17,000 injuries, according to ConsumerWatch's elevator safety overview. Those figures don't describe one Grand Rapids building, but they show why maintenance decisions must account for both daily reliance and equipment safety.
A blower repair also protects more than passenger comfort. An elevator that overheats can create unplanned downtime, interrupt accessible routes, delay freight movement, and force building staff to coordinate tenants around a disabled unit. Proactive diagnosis gives the manager more control over scheduling, parts, access, and communication.
The right response is to document the sound, note when it occurs, check whether the elevator behaves differently under heavier use, and arrange a qualified inspection. Waiting for a complete failure usually removes the least disruptive repair window.
Pre-Repair Diagnosis and Safety Protocols
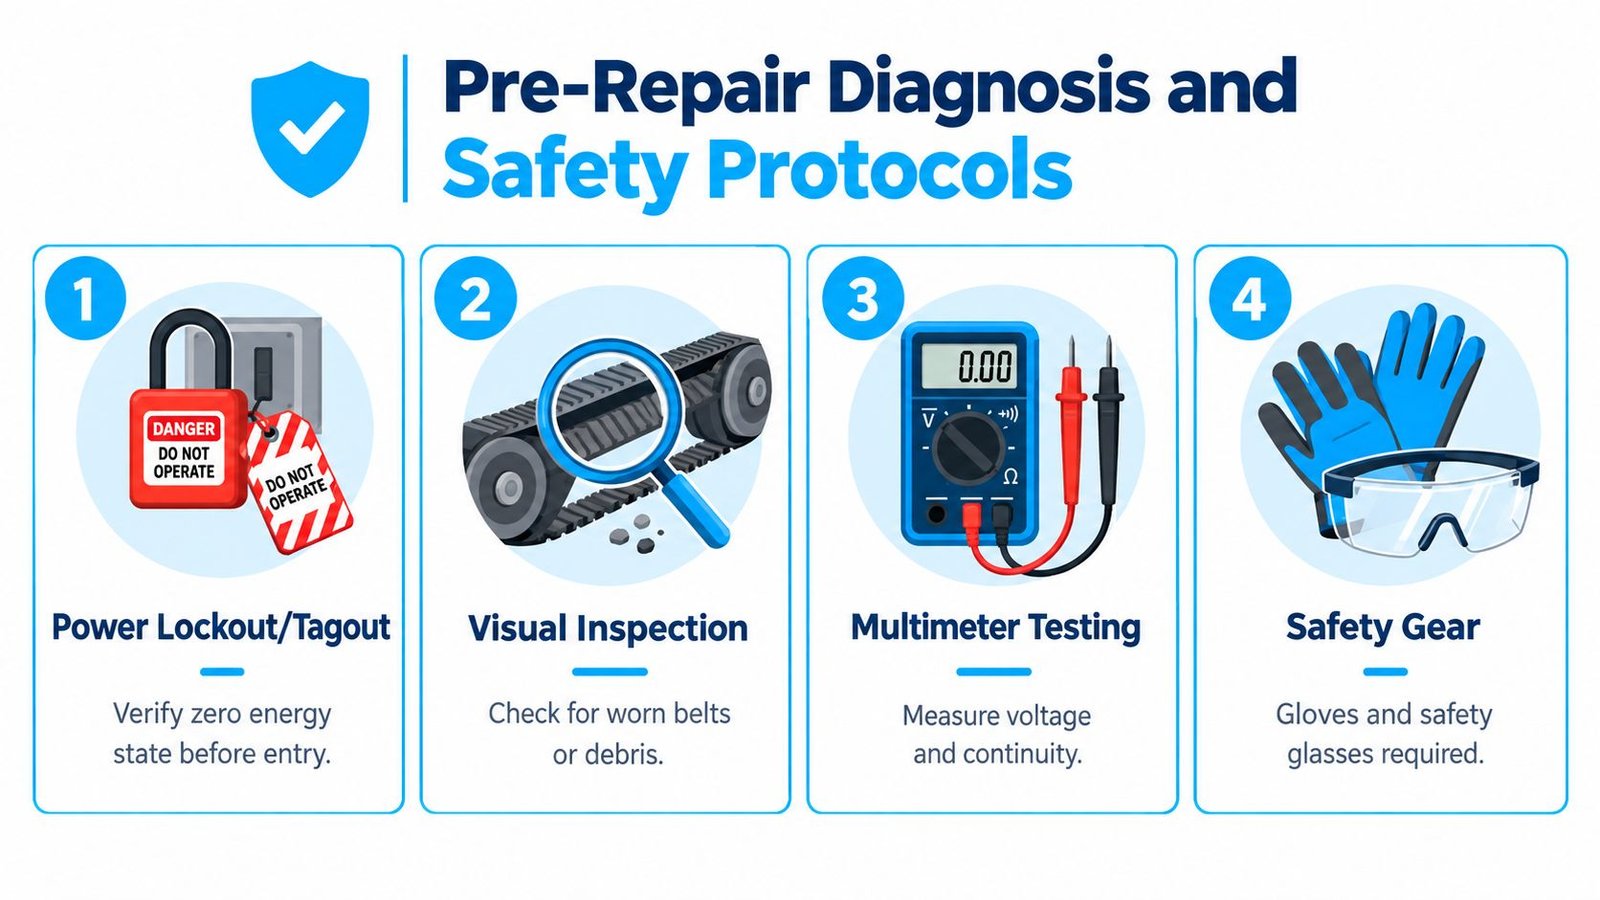
Before anyone opens a motor housing, the technician needs a confirmed fault and a controlled work area. A blower can resemble several other mechanical or electrical problems, so diagnosis should combine sound, temperature, airflow, visual condition, and electrical testing rather than relying on one symptom.
Confirm the fault before opening the equipment
A professional diagnosis normally follows this order:
- Record the operating symptom. Note whether the whine appears at startup, during travel, at rest, or after repeated cycles. A sound that changes with speed points toward a different issue than a constant electrical hum.
- Inspect the assembly visually. Look for loose fasteners, damaged guards, worn belts, blocked ventilation, dust buildup, damaged wiring, and evidence of overheating. The technician should compare the blower's condition with the motor housing and surrounding equipment.
- Check airflow and heat. Weak airflow or abnormal heat around the motor supports the blower diagnosis, but those observations don't replace electrical testing.
- Test safely with suitable instruments. A multimeter can help verify voltage, continuity, and related circuit conditions, but only after the work boundary and energy state are controlled.
Lockout, verification, and personal protection
Lockout/Tagout is mandatory, not a courtesy. The technician identifies every relevant energy source, switches the equipment off, applies a personal lock and tag, and prevents another person from restoring power. The zero-energy state must then be verified with an appropriate test instrument. Stored or residual energy also needs attention, including rotating components and any connected electrical sources.
The work area should be secured against unauthorized entry. Required PPE depends on the task and site assessment, but protective gloves, safety glasses, suitable work clothing, and other site-required protection are basic controls. Facility staff shouldn't remove guards, reach into the assembly, or attempt a live diagnosis.
A prompt repair can also support compliance planning. A failed inspection in Grand Rapids often triggers a correction window of 30 to 90 days, and addressing a failing blower early can help prevent formal notices and possible shutdowns, as described in this guide to elevator code violations and corrective action. For motor-related work, managers can review Crane Elevator's elevator motor repair service when arranging qualified support.
Essential Tools and Blower Removal Steps
Blower removal is straightforward only when access is good, the fasteners release cleanly, and the assembly matches the replacement. Older equipment can create the opposite conditions. Tight machine rooms, seized bolts, brittle wiring, and limited shaft clearance turn a routine component change into a job that rewards preparation.
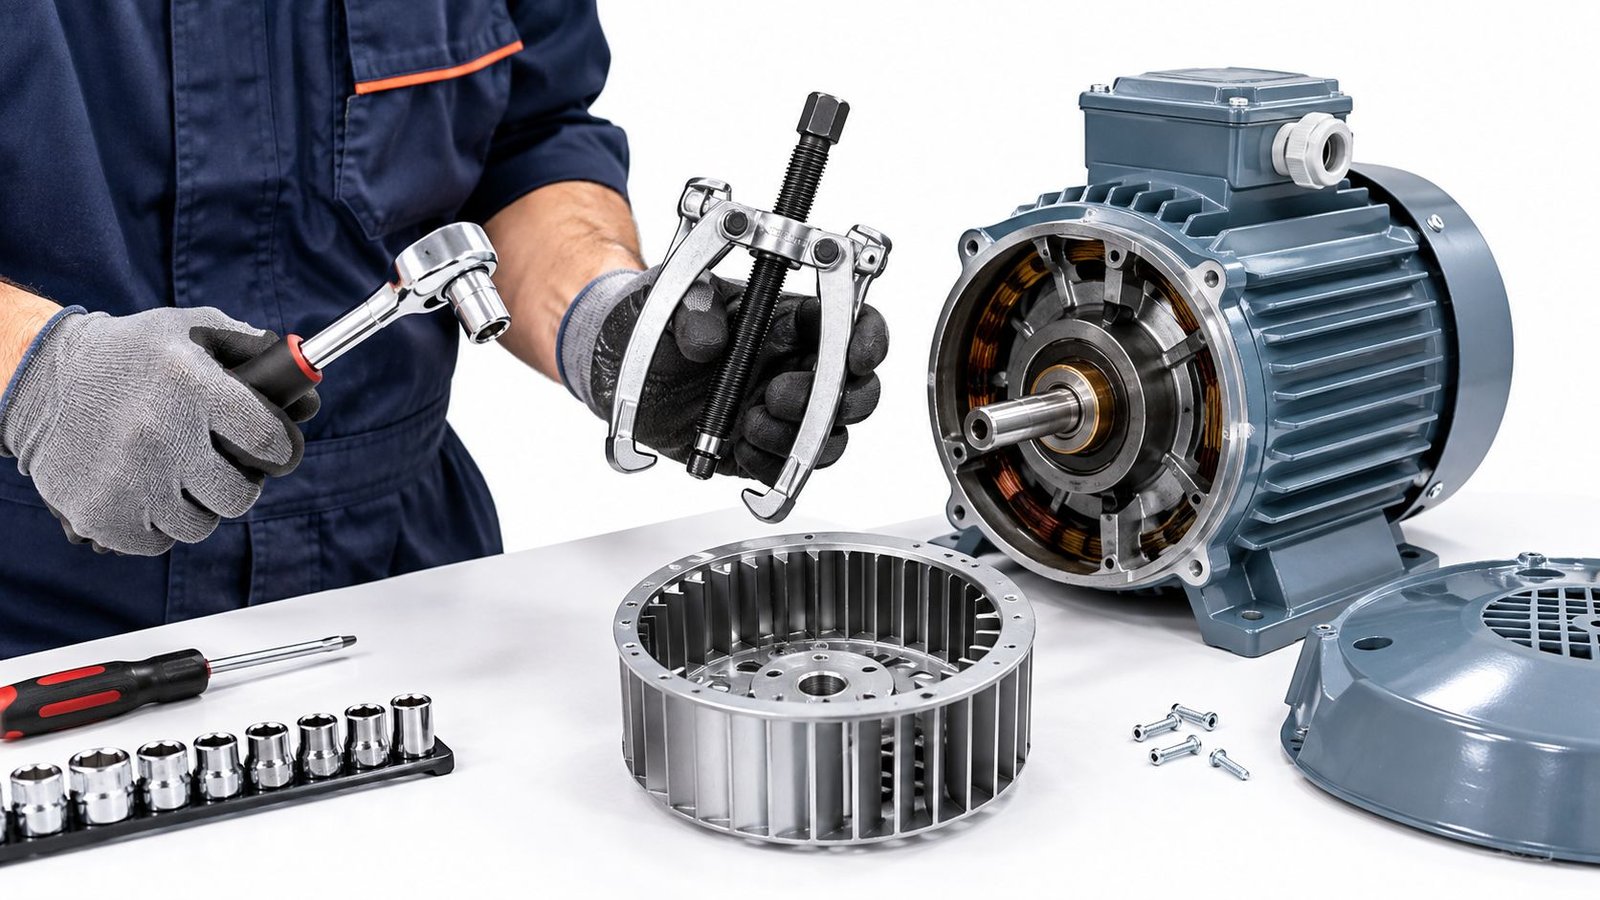
A prepared technician should have the correct socket set, combination wrenches, screwdrivers, nut drivers, insulated electrical tools where appropriate, a multimeter, labels, a marker, a camera or documentation method, cleaning supplies, replacement fasteners if specified, and a suitable puller for a blower or hub that won't release by hand. The exact tool selection depends on the motor and blower design.
| Item | Purpose | Pro Tip |
|---|---|---|
| Socket set and wrenches | Remove housing and mounting fasteners | Use the correct size to avoid rounding older hardware |
| Multimeter | Verify circuit condition and continuity | Test only within the established safety procedure |
| Wire labels and marker | Preserve connection identity | Label both ends before disconnecting |
| Gear puller | Remove a seized hub or blower | Protect the motor shaft and avoid striking it |
| Torque wrench | Restore specified fastening force | Follow the equipment documentation |
| Safety glasses and gloves | Protect eyes and hands | Match PPE to the task and worksite |
Remove the assembly methodically
After Lockout/Tagout and zero-energy verification, photograph the original arrangement. Label each electrical lead before disconnecting it, then isolate the wiring so it won't catch on the housing during removal. Remove guards or covers in a controlled sequence and keep fasteners organized by location.
If the blower is mounted to an end bell, remove the cover without levering against fragile castings. If it sits on a shaft, check for a retaining screw, key, collar, or other securing hardware before applying force. A seized component should be treated with penetrating fluid, controlled puller pressure, and patience. Hammering the hub can bend the shaft, damage bearings, or transmit force into the motor.
A clean removal protects the installation that follows. The goal isn't merely to get the old blower off. It's to preserve shaft geometry, wiring integrity, mounting surfaces, and evidence of the original fault.
Inspect the exposed shaft and housing as soon as the blower is removed. Look for scoring, corrosion, heat discoloration, loose bearings, damaged threads, and debris that could explain the failure. If the shaft or motor shows damage beyond the blower, stop and revise the repair scope rather than installing a new part onto a compromised base.
Technicians serving Grand Rapids may need to move between facilities in East Grand Rapids, Grandville, Kentwood, Ada, and Byron Center. That regional work makes mobile equipment, organized parts handling, and accurate pre-arrival information especially valuable, a service-area pattern also reflected in Grand Rapids elevator service listings.
The removal process should leave the worksite safe, the parts accounted for, and the documentation clear enough for another qualified technician to understand what changed.
Installing the New Elevator Motor Blower
The new blower must fit the motor, match the required electrical characteristics, and sit correctly on its mounting surface. A replacement that technically spins but sits off-center can create vibration, uneven airflow, and another failure. Installation quality matters as much as the part itself.
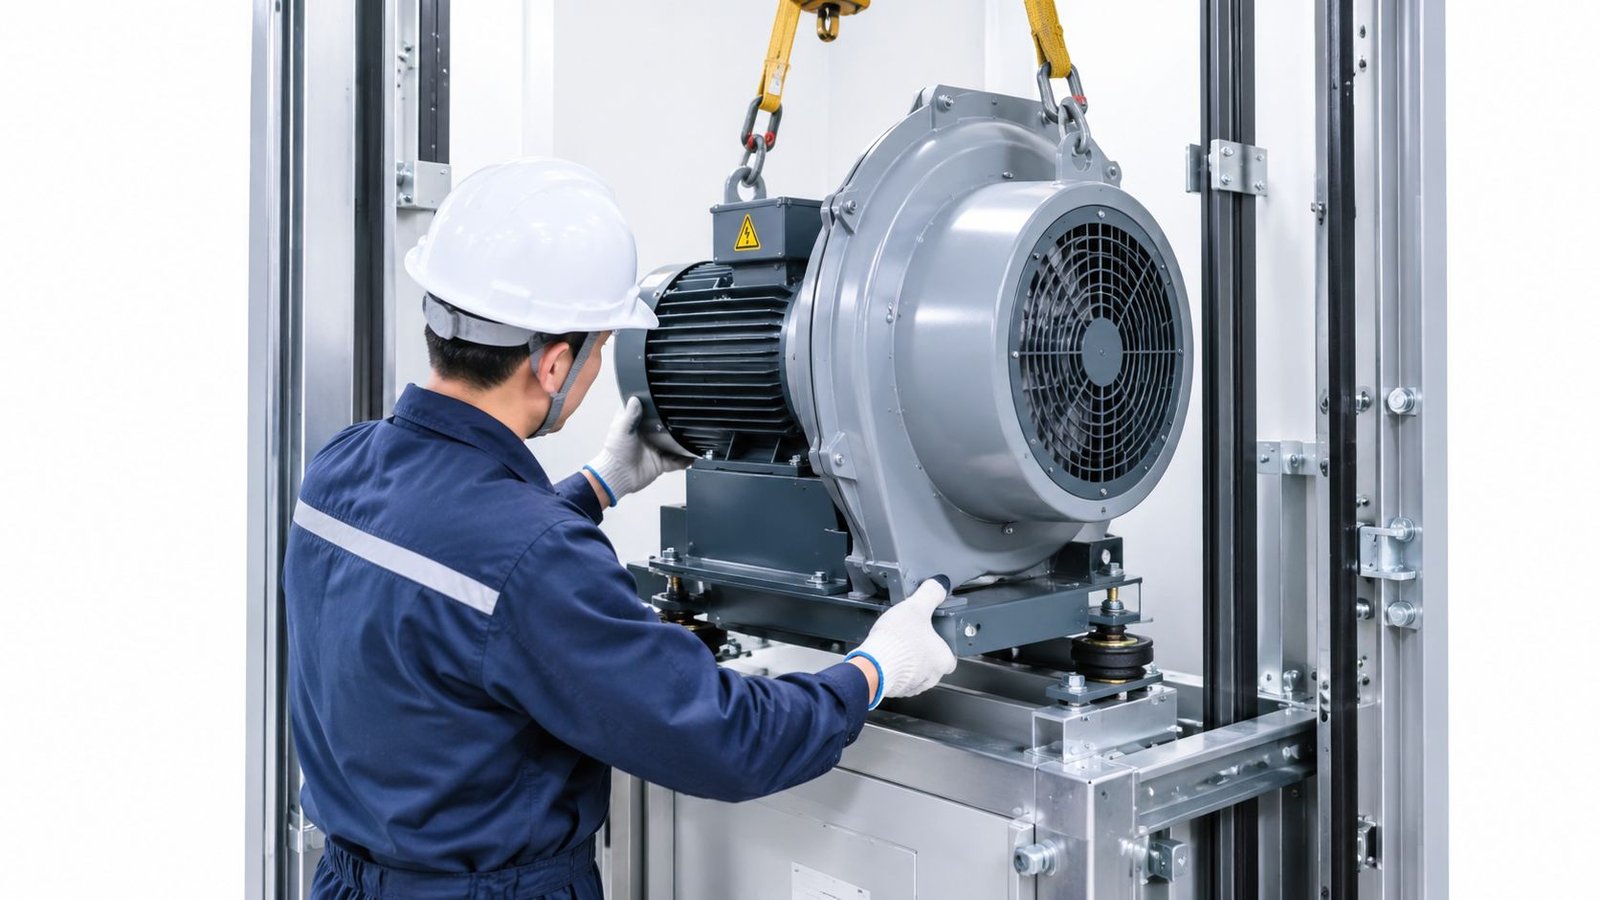
Begin by cleaning the housing, shaft, mounting face, and fastener holes. Remove old debris and corrosion without changing the dimensions of the shaft or mounting surface. Check the replacement against the removed unit, including mounting pattern, hub arrangement, guard clearance, wiring, and rotation requirements.
Seat and align the replacement
Place the blower squarely onto the shaft or into its housing. Don't force bolt holes into alignment by pulling the assembly sideways with fasteners. Start each bolt by hand, confirm that threads engage smoothly, and tighten gradually in a balanced pattern. Cross-threaded bolts and uneven clamping can distort the housing or leave the blower misaligned.
Use the equipment manufacturer's torque requirements for final tightening. A torque wrench gives the technician a repeatable result and reduces the chance that vibration will loosen fasteners. If the documentation specifies a retaining compound, key, collar, or other securing method, follow that requirement rather than substituting an improvised solution.
Check clearance by rotating the assembly by hand when the procedure allows it. The blower shouldn't rub the guard, housing, wiring, or nearby components. The technician should also confirm that the guard is secure and that no tool, rag, label, or loose hardware remains inside the assembly.
Restore wiring with the motor's direction in mind
Reconnect electrical leads using the labels and original documentation. Tighten terminals correctly, protect conductors from moving parts, and inspect insulation for heat damage or brittle sections. A sound mechanical installation can still fail if a connection is loose or the motor rotates in the wrong direction.
Rotation verification should happen under a controlled test procedure, with personnel clear of moving equipment. If direction is incorrect, power must be removed and the energy-control procedure repeated before changing connections. Don't solve a rotation problem by repeated trial and error around exposed rotating parts.
A final visual check should cover the mounting surface, fasteners, guards, wiring route, ventilation path, and surrounding machine-room housekeeping. The installation is ready for testing only when the technician can explain what was replaced, what was inspected, and what conditions would require stopping the job.
Post-Installation Testing and Verification
The repair isn't complete when the last bolt is tight. The elevator must return to service through a controlled sequence that confirms the blower, motor, controls, and surrounding equipment operate together as intended.
Start by reviewing the work area. Remove tools and loose materials, reinstall guards and covers, confirm that all personnel are clear, and verify that the technician who applied each lock is the person authorized to remove it. Restore power according to the site's energy-control procedure, then observe the initial start rather than immediately placing the elevator into normal passenger service.
Move from simple checks to operating cycles
Listen first. A healthy installation should not introduce a new scrape, pulse, rattle, or escalating whine. Watch the blower and motor for abnormal movement, then check airflow and temperature behavior using approved methods. Excessive vibration, weak airflow, a hot connection, or an unusual smell is a reason to stop and diagnose further.
The elevator should then be evaluated in inspection mode by qualified personnel. That controlled setting allows the technician to confirm operation without immediately exposing passengers to an unverified repair. The technician can check the motor response, blower performance, clearances, and related equipment before normal cycling.
Normal cycles come later. Run the elevator through representative trips while monitoring sound, vibration, temperature, leveling, door behavior, and any fault indications. A blower replacement shouldn't be declared successful solely because the original noise disappeared. The motor must remain stable during operation, and the equipment must respond correctly under the building's expected use.
A useful closeout record includes:
- Component details: Record the replacement part and the equipment served.
- Diagnostic findings: Note the original symptom and the condition discovered during removal.
- Safety controls: Document the energy-control process and restoration checks.
- Verification results: Capture inspection-mode observations, operating-cycle results, and any follow-up recommendation.
- Return-to-service status: State whether the elevator was released, restricted, or held for additional work.
For broader testing needs, facility managers can review Crane Elevator's elevator testing service. Clear records help building owners track recurring faults, plan future work, and show that the repair received a deliberate operational check.
Your Partner for Grand Rapids Elevator Repair and More
A motor blower replacement calls for more than mechanical ability. The technician needs to understand elevator controls, rotating equipment, electrical safety, access restrictions, inspection expectations, and the consequences of returning a unit to service too early. A facility manager also needs clear communication about what failed, what the repair includes, what remains at risk, and when the elevator can safely operate.
Crane Elevator Company states that it serves all of Southern Michigan, including Detroit, Lansing, Ann Arbor, Grand Rapids, Flint, Kalamazoo, and Jackson, giving building owners a service footprint that extends beyond one city. Its listed coverage also reaches communities such as Battle Creek, Holland, Muskegon, Rockford, Saugatuck, South Haven, and other Michigan locations, as reflected in the company's Southern Michigan service information.
That broad reach matters for owners managing multiple properties or contractors coordinating work across different sites. Crane provides maintenance, repairs, testing, and modernization support for commercial and residential properties across Lower Michigan, including work on passenger elevators, freight units, residential elevators, wheelchair lifts, material lifts, and dumbwaiters. In practical terms, that means a building owner can discuss a focused blower repair while also evaluating preventive maintenance, code-related testing, or modernization when the equipment's age and condition justify a larger decision.
The company describes its approach as non-proprietary, which gives owners more flexibility when planning future service. Facility managers can start with a Grand Rapids elevator service consultation when they need repair support, a second opinion, or a clearer scope of work.
Don't judge a blower repair by the part replaced. Judge it by the diagnosis, safety controls, installation precision, operating verification, and documentation left behind.
If your Grand Rapids elevator is making a new machine-room noise, losing airflow, or showing signs of repeated overheating, Crane Elevator Company provides repair, maintenance, testing, and modernization support across Grand Rapids, Detroit, Lansing, Ann Arbor, and surrounding Michigan communities. Contact the team to schedule a professional assessment and determine whether a focused repair or broader equipment plan best protects your building's uptime and compliance.