
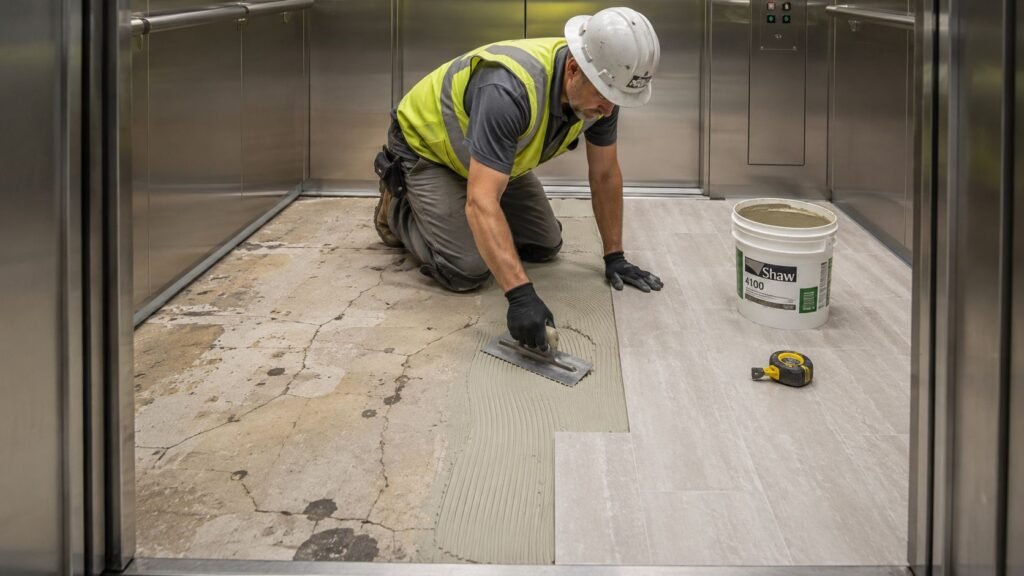
The call usually starts the same way. A property manager notices the elevator cab floor has gone from worn to embarrassing. The vinyl is curling at the edges, the seams are splitting, or a cracked surface is catching dirt and sending the wrong message to tenants and visitors.
What many owners miss is that the floor in an elevator cab isn’t just décor. It affects ride safety, door clearance, code compliance, car weight, fire performance, and long-term maintenance. Treat it like lobby flooring and you can create a much bigger problem than the one you were trying to fix.
Why Your Elevator Floor Is More Than Just a Surface
A building owner approves a new elevator floor because the old one looks worn out. The installer swaps in a thicker, heavier finish that matches the lobby. A week later, the cab is back under review because the entrance height is off, the floor has too much flex, or the material package does not meet the fire requirements tied to the alteration. I have seen that mistake cost far more than the original flooring job.
An elevator cab floor is part of the equipment assembly. It affects dead load, door sill clearance, ride quality, support conditions, and the cab’s fire performance. Once you replace the full floor system or change the material build-up in a meaningful way, the work stops being a simple finish update. It has to be treated like elevator alteration work, with the right review, documentation, and sign-off.
Owners usually start with appearance. They want a cleaner look, a premium pattern, or a finish that matches the rest of the property. The better question is whether the cab floor structure can carry that material without excessive deflection, whether the finished height stays within tolerance at the entrance, and whether the assembly creates a compliance problem that delays return to service.
Practical rule: If you’re replacing the whole elevator floor, treat it as a change to the elevator system.
That approach protects the asset. It also prevents the common failures that show up after installation: cracked finishes over a weak subfloor, loose edges caused by moisture, uneven transitions at the sill, and rejected work because the material package was chosen before anyone checked code and cab loading.
Three issues get missed early. Weight is the first. Lobby products can add more load than the cab was set up to carry. Structure is next. A cab floor can support rated passengers and still flex enough to damage brittle tile or rigid finish layers. Compliance is the third. Fire and smoke characteristics, inspection requirements, and alteration paperwork determine whether the elevator can legally go back into service.
Water damage also gets overlooked until the floor is opened up. If staining, corrosion, swelling, or adhesive breakdown is part of the story, start with an elevator water damage assessment before choosing replacement materials.
A good-looking floor helps the cab present well. A floor with the right weight, stiffness, fire performance, and approved installation details protects uptime, avoids failed inspections, and lasts longer under real building traffic.
Inspecting Your Current Floor and Planning the Project
Before anyone talks finish samples, inspect what’s there now. Some floors only have surface wear. Others are telling you the substrate, moisture conditions, or structural support need attention first.
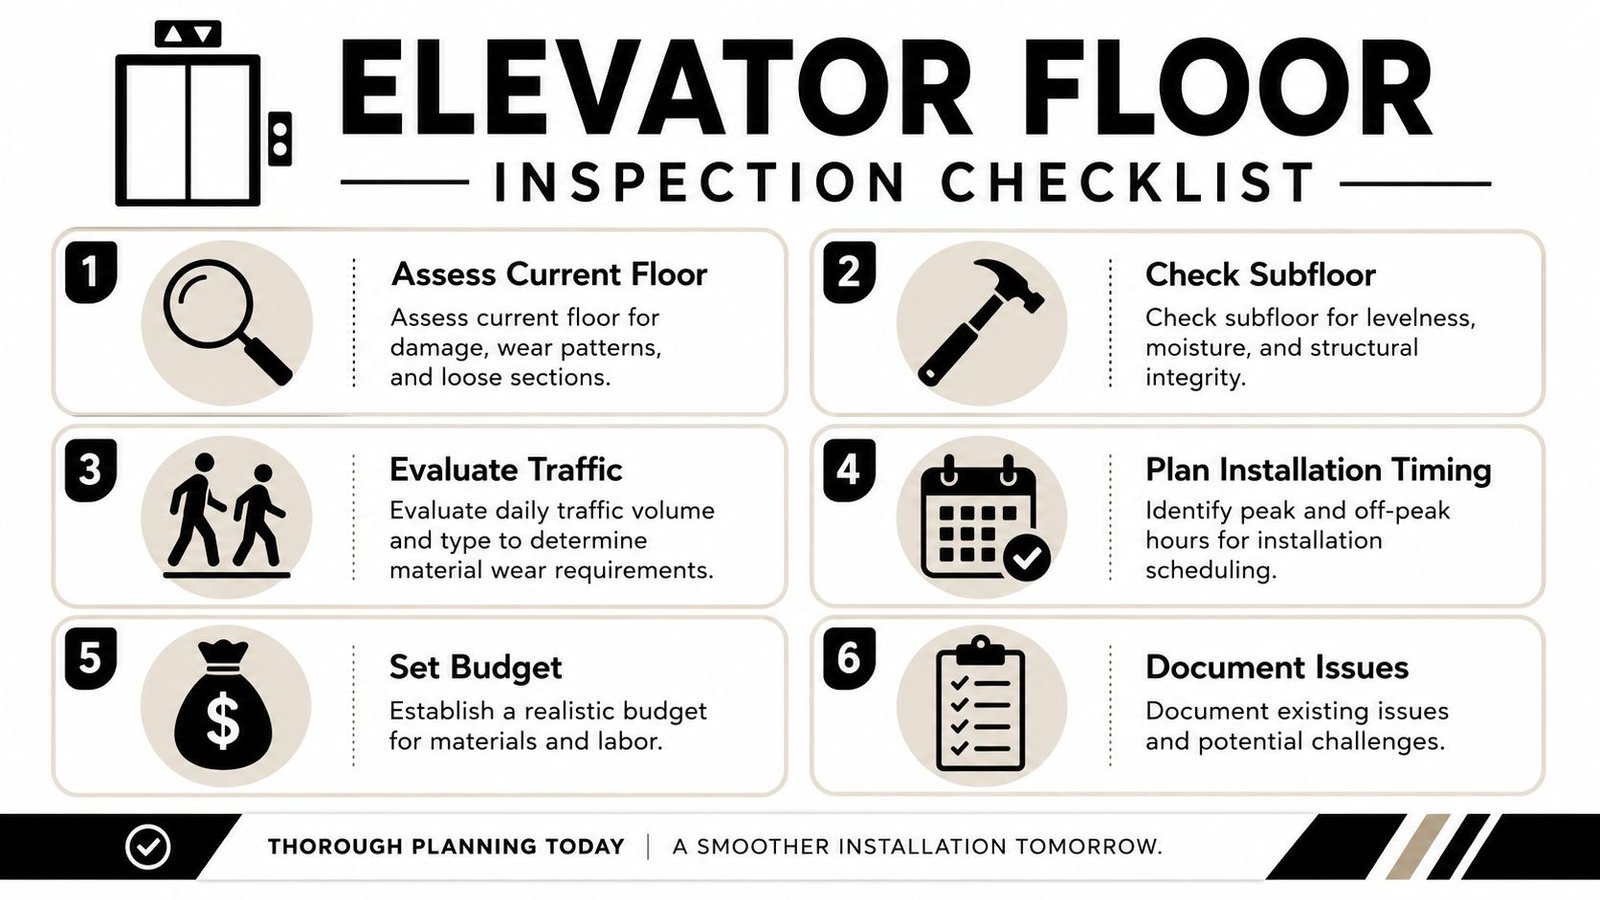
What to look for in the cab
Start with the obvious signs:
- Loose edges or curling seams: These often point to adhesive failure, moisture intrusion, or movement in the floor assembly.
- Cracks through the finish: Cracking can be cosmetic, but repeated cracking in the same path often suggests flexing below.
- Soft spots under load: If the floor feels spongy when a loaded cart rolls in, don’t assume the finish is the only problem.
- Height issues at the entrance: If the floor sits proud of the sill or creates an awkward transition, the replacement needs careful thickness planning.
- Water staining or corrosion clues: If you see rust, staining, swelling, or adhesive breakdown, investigate further. Water damage rarely stays isolated. If moisture is part of the picture, a focused elevator water damage assessment is often the right next step.
Owners sometimes call for a “floor refresh” when what they really have is a failing assembly. Covering over a bad substrate saves time only until the new floor starts failing in the same way.
Separate wear from structural trouble
A floor that’s just ugly can usually be planned calmly. A floor that has movement, height problems, or signs of underlying deterioration needs a more disciplined approach.
Use this field checklist when you walk the cab:
- Photograph all corners and edges. Corners tell you a lot about delamination and impact wear.
- Check for pattern failure. Repeated cracking near the center or door zone can indicate deflection.
- Note the current material build-up. Existing finish, adhesive, underlayment, and patch layers affect both weight and final height.
- Watch traffic type, not just traffic volume. A residential cab sees different abuse than a hospital or freight-adjacent passenger elevator.
- Document downtime constraints. Single-elevator buildings need a very different scheduling plan than multi-car groups.
- Ask whether the building wants “same as existing” or a new material type. That answer has code and permitting implications.
A floor that fails in service usually gave warnings first. The mistake is treating those warnings as appearance issues only.
Why planning has to start with the legal classification
This is the point many owners learn too late. Replacing an elevator floor entirely constitutes a regulatory alteration rather than a simple repair, and changing the whole floor or using different materials requires submission to authorities and inspection by a licensed elevating devices contractor, as described in TSSA’s elevator cab renovation FAQ.
That distinction changes who should perform the work and how the project gets documented. In practical terms, you should plan for:
- licensed elevator contractor involvement
- permit and submission review
- coordination around weight records
- final inspection before the cab returns to service
If you budget this like hallway flooring, you’ll likely underestimate cost, downtime, and administrative steps.
Comparing Elevator Flooring Materials for Safety and Durability
A cab floor can look fine at handover and still create expensive problems later. I have seen owners approve a finish based on color and cleanability, then learn too late that the added weight, weak fire performance, or floor flex turned a simple refresh into a failed alteration.
The materials that usually make sense
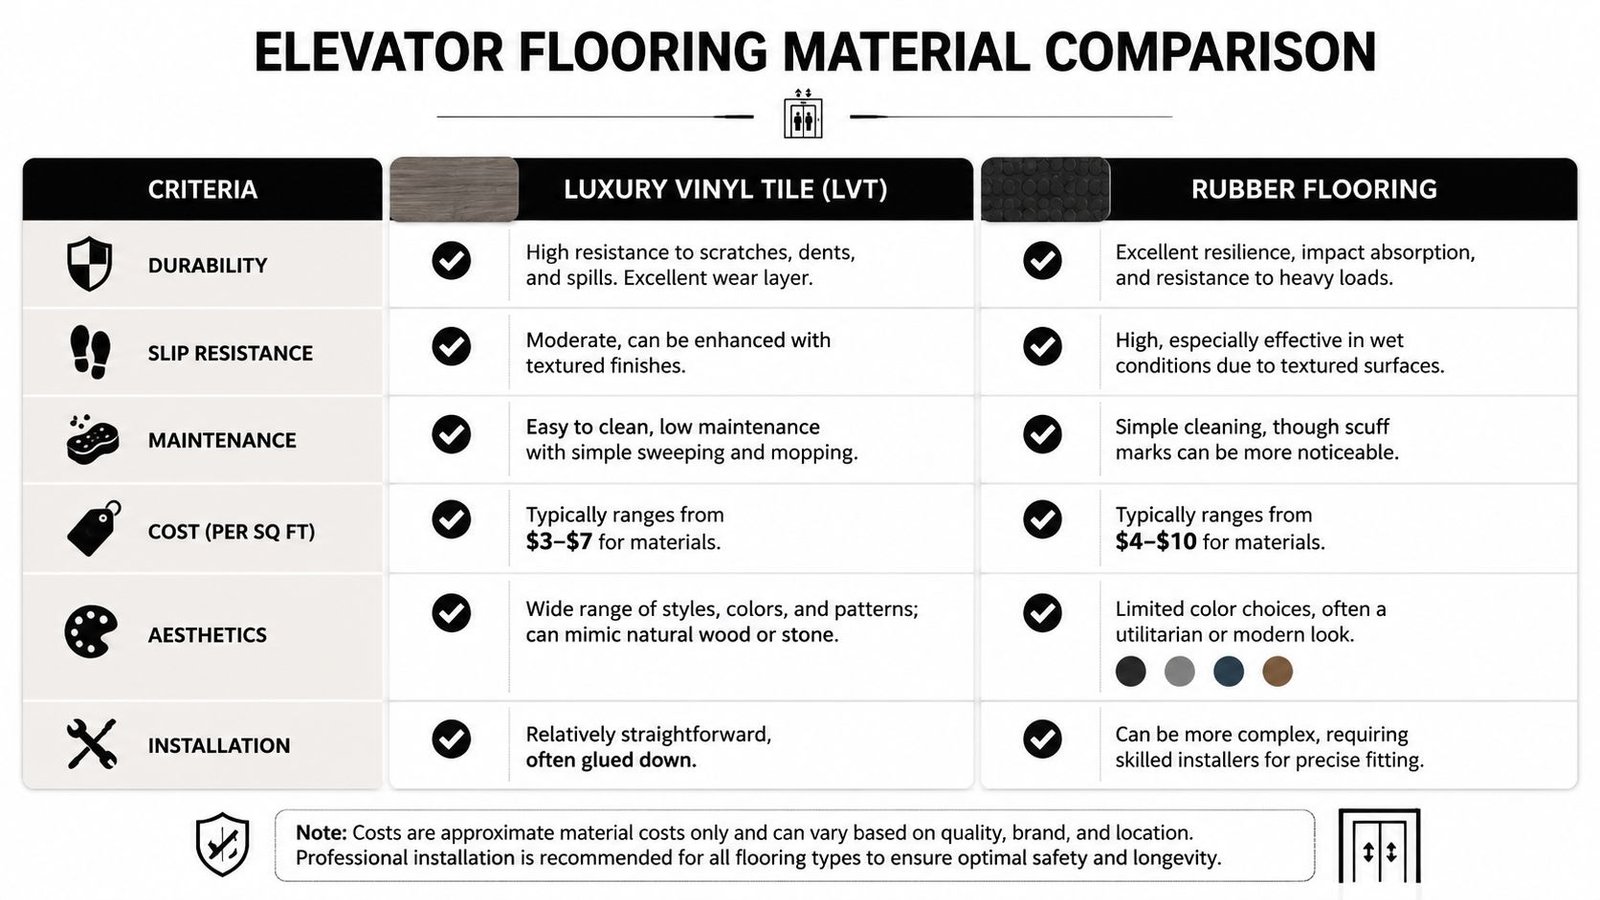
For most passenger elevators, the short list is luxury vinyl tile, sheet or tile rubber, and other resilient commercial finishes approved for this use. Those products usually give owners the best balance of service life, manageable weight, easier maintenance, and fewer structural surprises.
Here is how the common options compare in actual building service:
| Material | What it does well | Where it struggles | Best fit |
|---|---|---|---|
| Luxury vinyl tile | Broad design range, easier spot replacement, straightforward cleaning | Edge details and seams need precise installation, hard wheels can gouge some products | Office, multifamily, mixed-use passenger cabs |
| Rubber flooring | Good slip resistance, handles carts and repeated traffic well, quieter under use | Fewer design options, scuffs can show, fitting details matter at edges and thresholds | Healthcare, education, municipal, high-use cabs |
| Ceramic or stone tile | High-end appearance in the right assembly | Higher weight, rigid finish over a moving substrate, grout and tile cracking risk, more difficult compliance path | Only where the cab floor structure is specifically verified |
| Soft goods not intended for elevator use | Low upfront cost | Short service life, edge failure, poor long-term value, weak fit for regulated equipment | Usually a poor choice |
How these materials perform once the cab is back in service
Luxury vinyl tile works best where appearance matters but the owner still wants a practical repair path. If a section gets damaged, a qualified installer can often replace individual pieces without rebuilding the whole floor. That matters in occupied buildings where downtime and future maintenance costs count more than showroom appearance.
Rubber flooring is often the better answer in harder-use properties. Hospitals, schools, and public buildings put more punishment on a cab than many owners expect. Rolling loads, wet shoes, cleaning chemicals, and daily abuse favor a material that gives a little instead of chipping or cracking.
Heavy and brittle finishes need structural proof, not optimism
Tile and stone get specified for visual reasons all the time. The risk is not just weight. The bigger issue is whether the cab floor assembly is stiff enough to support a brittle finish without movement damage.
The Ceramic Tile Foundation explains in its guidance on tiling elevator floors that tile installations are risky unless the substrate can support the tile assembly and meet the L/360 deflection limit. Owners should pay attention to that number. A car floor can be acceptable for passenger loading and still flex enough to crack grout, break bond, or telegraph failure through the tile.
That is why stone and ceramic belong in a narrow category. They are possible in some cars, but only after the structure, dead load, and stiffness have been checked and documented.
A floor that carries passengers safely can still be the wrong base for a brittle finish.
Fire and smoke performance must be checked before product selection
Beyond surviving traffic, elevator floor materials must meet specific fire-related criteria. Products that work elsewhere in the building may be disqualified inside the cab because of flame spread, smoke development, or related listing requirements tied to elevator use.
That is one reason owners should review the Michigan elevator code requirements before choosing a finish. A flooring rep may propose a product that performs well in corridors or tenant spaces. That does not mean it belongs on regulated elevator equipment.
A practical way to narrow the options
The cleanest-looking sample is rarely the right starting point. Use this filter instead:
- Compliance first. If the product cannot satisfy the fire and smoke criteria for elevator use, remove it from consideration.
- Then structural compatibility. The cab floor has to support the finished assembly without deflection problems, bond failure, or excess dead load.
- Then thickness and fit. Finished height affects sill conditions, transitions, and door clearances.
- Then service conditions. Passenger traffic, carts, moisture, and cleaning methods should drive the selection.
- Design last. Color and pattern matter, but only after the material clears the safety and performance checks.
Best-fit recommendations by building type
For many passenger cabs, LVT is the most balanced choice. It gives a cleaner design range without pushing the assembly toward unnecessary weight or a brittle finish that may not tolerate movement.
For public-facing or high-abuse environments, rubber often holds up better over time. It is less likely to punish the owner with cracking, edge failure, or cosmetic damage from constant rolling traffic. In elevator work, the best material is usually the one that stays compliant, stays intact, and does not force another shutdown before it should.
Hiring a Qualified Contractor and Navigating Michigan Codes
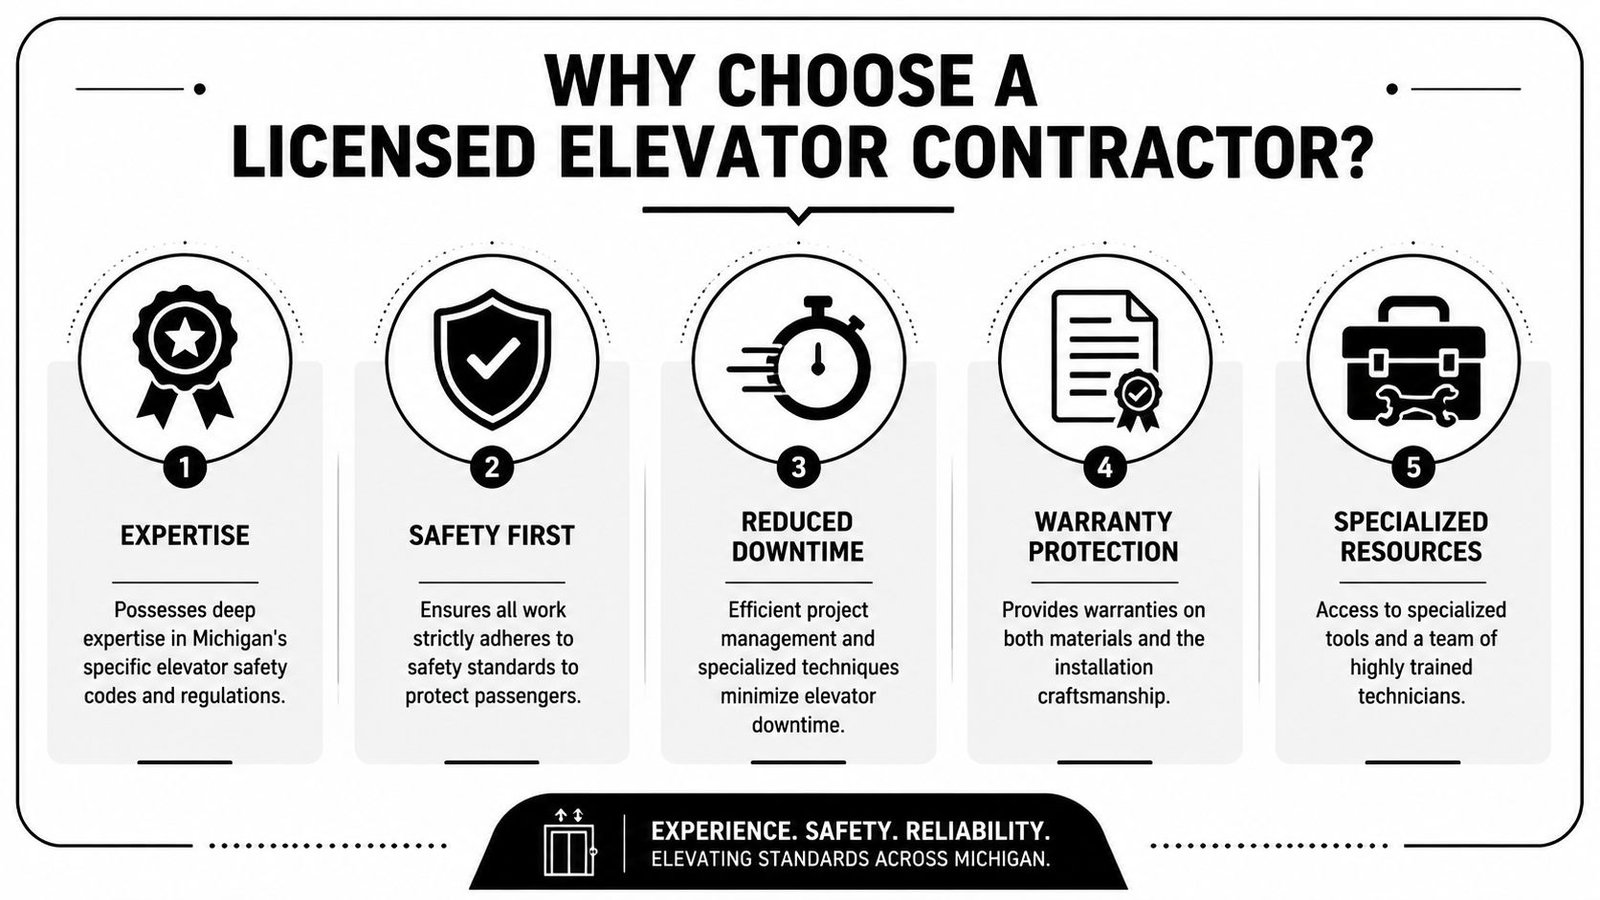
An elevator floor replacement job should not be handed to a general flooring crew just because they install commercial flooring elsewhere in the building. The cab is part of regulated equipment. The work touches weight, fire performance, floor height, and return-to-service compliance.
Why a specialized contractor matters
A flooring installer may know adhesives, seams, and finish details. That's not enough here. Elevator work requires someone who understands altered dead load, authority submission, inspection sequencing, and the consequences of a bad material choice.
Michigan owners should expect the contractor to be comfortable with the code side of the job, not just the finish side. If you need a baseline on the compliance situation, this overview of Michigan elevator code requirements is a useful starting point.
Questions worth asking before you sign
Not all bids are equal. Ask direct questions.
- Are you licensed for elevator alteration work? This should be a simple yes, with documentation.
- Who handles submission and inspection coordination? If the answer is vague, expect confusion later.
- How do you verify acceptable flooring material? You want a contractor who talks about fire ratings, finished height, and cab load implications.
- What happens if the subfloor is damaged or deflecting? Good contractors have a plan for hidden conditions.
- Do you work on non-proprietary systems and multiple makes and models? That matters for long-term serviceability.
What you're paying for
Owners sometimes compare these jobs to standard flooring bids and assume the elevator contractor is overpriced. That comparison misses the actual scope.
The cost usually includes:
- controlled shutdown and site protection
- removal of old material in a confined, regulated space
- subfloor review and correction as needed
- material installation with elevator-specific constraints
- submission, inspection, testing, and documentation
- recommissioning work before the unit returns to service
Cheap bids usually leave out the hard parts. In elevator work, the hard parts are the parts that keep you compliant.
Professional service reflects a real specialty market
This isn't niche in the trivial sense. It's a major service category. The global elevator maintenance market was valued at USD 35.76 billion in 2025 and is projected to grow to USD 68.25 billion by 2034, according to Fortune Business Insights. That scale exists because owners keep needing specialized, code-compliant work on equipment already in service.
A contractor who handles elevator alterations regularly brings something a general flooring company can't. They know where these projects fail. More important, they know how to keep them from failing at inspection.
The Replacement Process From Shutdown to Sign-Off
The biggest owner concern is usually downtime. The second is disruption. Both are manageable if the project is planned correctly, but elevator floor replacement isn't a one-day cosmetic swap.
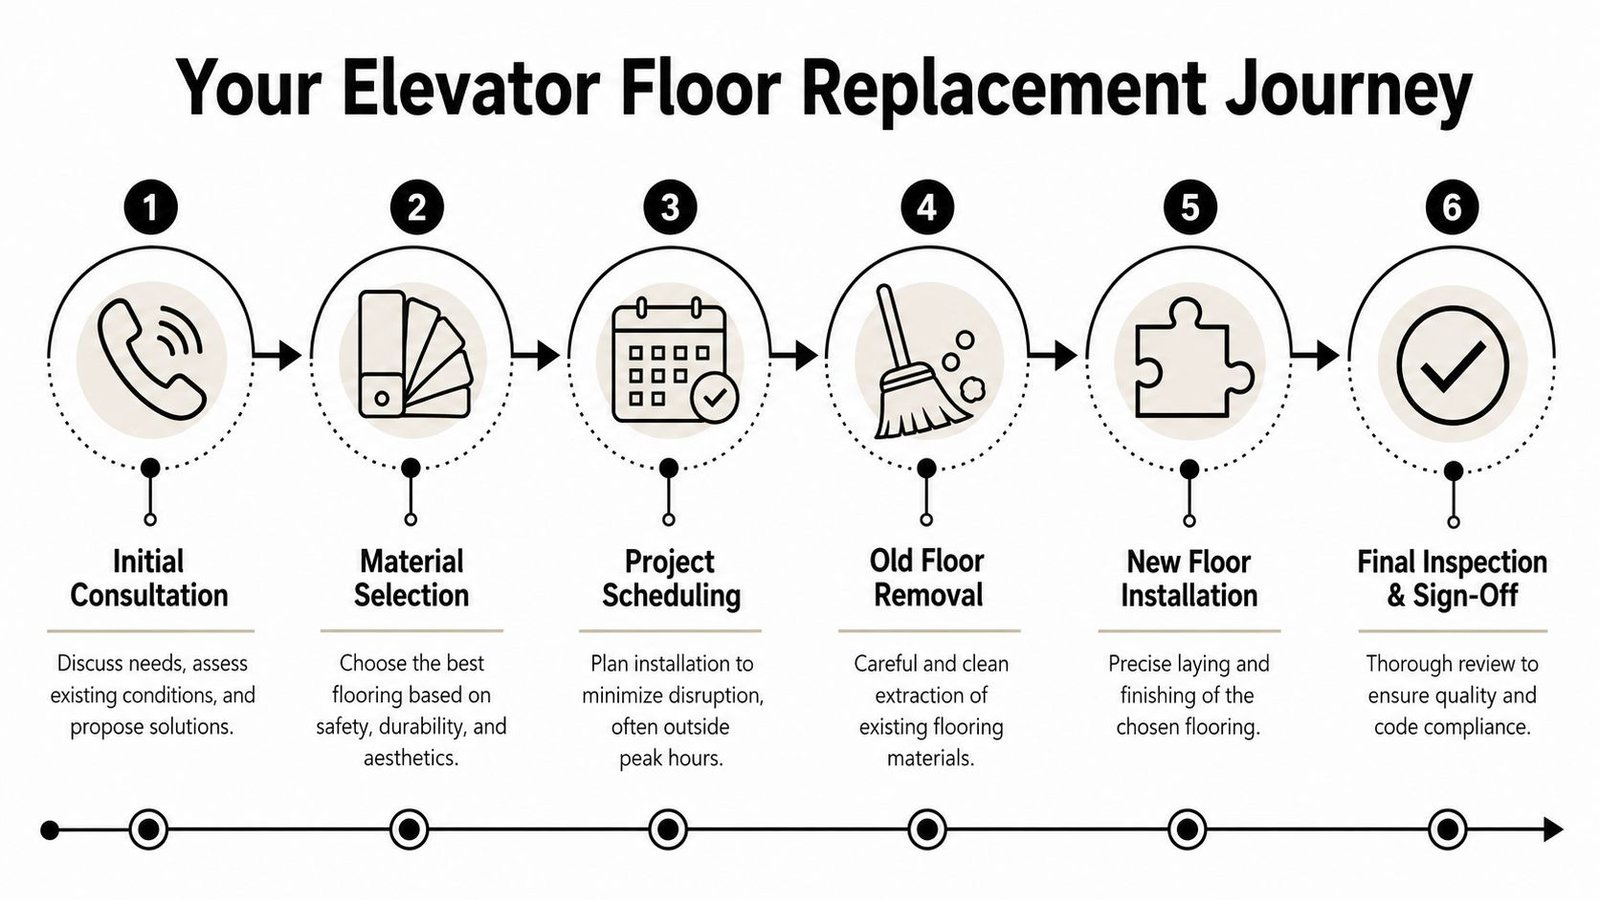
A realistic process view helps. Trade guidance describes a typical elevator floor replacement timeline of 4–6 weeks for installation plus 1–2 weeks for final testing, inspection, and recommissioning, which is why these jobs shouldn't be treated as quick-turn finish work, as noted in this industry discussion on elevator floor replacement timing.
Before the cab goes offline
The cleanest projects start with communication. Occupants need notice. Staff need to know whether service will shift to another car. Delivery schedules, accessibility routes, and building operations all need adjustment.
Material should be selected and approved before shutdown. So should the alteration pathway, paperwork expectations, and sequencing. Owners who wait to solve those items after the cab is offline usually extend their own outage.
The work sequence in the field
Once the elevator is removed from service, the contractor prepares the cab and protects adjacent finishes. Demolition follows. Old finish material comes out first, but the primary value is what this reveals underneath.
Then the subfloor gets evaluated. If there are level issues, deterioration, corrosion, trapped moisture, or movement problems, they must be corrected before the new finish goes in. Installing over a weak or uneven base is how a brand-new floor starts aging on day one.
A typical sequence looks like this:
- Shutdown and secure the unit. The elevator is taken out of service and isolated for safe work.
- Remove existing flooring materials. Adhesives, patch layers, and edge details come out so the assembly can be thoroughly inspected.
- Inspect and prepare the substrate. Here, hidden problems usually show themselves.
- Install the approved new floor system. Material, adhesive, transitions, and edge conditions all matter.
- Allow proper cure and finish time. Rushing adhesive cure is one of the easiest ways to sabotage a good installation.
- Complete testing, inspection, and sign-off. The unit shouldn't return to public use until that process is done.
For a visual overview of how elevator modernization work is approached in the field, this video is helpful:
What slows projects down
Hidden conditions are the biggest variable. If the old floor masked movement, water intrusion, or poor prior work, the schedule changes. That's normal. It's still cheaper than reinstalling another failed floor.
The other common delay comes from material substitutions. If the original selection turns out not to satisfy the required criteria, the project pauses while a compliant option is approved. That's why material vetting should happen early and with elevator-specific review.
What owners should expect near the end
Final completion isn't “the floor looks finished.” Final completion means the unit has passed the necessary testing and inspection process and is ready to be recommissioned.
That last stretch matters. The best-looking floor in the building has no value if the elevator can't be signed off for safe operation.
The final week of an elevator floor project is about proof, not appearance. The elevator has to earn its return to service.
Post-Installation Care to Protect Your Investment
A new elevator floor doesn't stay new by accident. Once the cab goes back into service, daily cleaning habits and routine inspection determine whether the floor ages evenly or starts breaking down at the edges.
Keep maintenance simple and consistent
For LVT, use routine sweeping and damp cleaning with products appropriate for resilient flooring. Avoid harsh methods that attack seams, soften adhesive, or leave residue that makes the floor slick.
For rubber flooring, keep grit off the surface and pay attention to scuffing in the traffic lane. Rubber generally holds up well, but it still needs regular housekeeping and quick attention to edge damage.
Inspect the details that fail first
Most floor failures don't begin in the center. They begin at transitions, corners, seams, and areas that take repeated impact from wheels.
Make these checks part of your maintenance routine:
- Watch the entrance edge: This area takes repeated abuse from carts, shoes, and cleaning tools.
- Look for lifting corners: Small edge issues are easier to correct before they grow.
- Check for trapped moisture signs: Staining, odor, or adhesive changes should be investigated.
- Report ride or leveling issues promptly: If the cab isn't landing cleanly, the floor can take extra abuse at the threshold.
Tie the floor into the larger maintenance plan
A good floor replacement isn't a stand-alone win. It's part of keeping the entire elevator reliable, safe, and presentable over time. Owners who fold floor condition into regular elevator preventative maintenance usually catch problems earlier and avoid the false economy of repeated patch jobs.
The larger market direction supports that approach. With new elevator installations projected to rise annually and the global elevator market forecasted to reach USD 147.85 billion by 2032, proactive lifecycle management matters more as the installed base grows, according to Freedonia Group's global elevators industry study.
The floor is one visible part of that responsibility. When it's chosen correctly, installed correctly, and maintained correctly, it protects appearance, safety, and long-term operating cost all at once.
If you're planning an elevator floor replacement in Lower Michigan and want a straight answer on code, materials, downtime, and whether your cab can support the finish you want, contact Crane Elevator Company. They handle inspections, repairs, preventative maintenance, and non-proprietary modernizations for all makes and models, and they can give you a practical second opinion before a cosmetic project turns into a compliance problem.